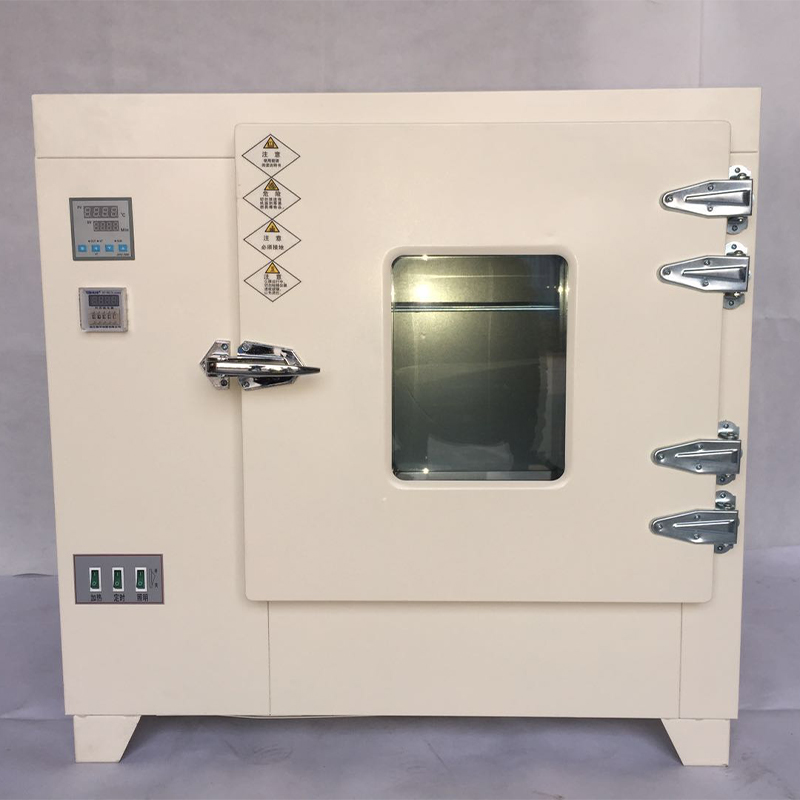
DIY Homemade Tensile Strength Tester for Material Testing and Analysis
Custom Homemade Tensile Strength Tester A DIY Guide
Testing the tensile strength of materials is crucial in various fields, including engineering, manufacturing, and material science. While specialized equipment can be expensive, creating a custom homemade tensile strength tester can be a rewarding project, making it accessible for hobbyists, educators, and small workshops. This article provides a detailed guide on how to create a simple yet effective tensile strength tester using commonly available materials.
Understanding Tensile Strength
Before diving into the construction of your tester, it’s important to understand what tensile strength means. Tensile strength refers to the maximum amount of tensile (stretching) stress a material can withstand before failure. By measuring how much force is required to break a material, you can determine its suitability for various applications.
Materials Needed
To construct a homemade tensile strength tester, you will need
1. Frame A sturdy base to hold the components together. You can use wood or metal. 2. Weights Standard weight plates or any heavy objects to apply force. 3. Pulley System A basic pulley mechanism to change the direction of the force and smoothly apply weight. 4. Hook or Gripper To hold the test specimen securely in place. 5. Scale or Load Cell To measure the amount of weight being applied. A digital scale can also work if calibrated correctly. 6. Line A strong cord or rope that can withstand significant tension without breaking. 7. Testing Specimens Materials you want to test, such as plastic strips, metal wires, or fibers.
Step-by-Step Construction
1. Build the Frame Start by constructing the base for your tensile strength tester. Ensure it is stable and can support the weight you’ll be using for testing. A rectangular frame works well, with sufficient height to allow room for weights and the pulley.
2. Install the Pulley System Attach a pulley at the top of the frame. This will help in redirecting the force applied by the weights downwards. Ensure the pulley moves smoothly; proper lubrication may be necessary.
3. Add the Gripper Securely attach the hook or gripper beneath the pulley. This will hold the specimen being tested. Make sure it can easily open and close to allow quick specimen changes.
custom homemade tensile strength tester

5. Connect the Line Tie one end of the strong cord to the weights and the other end to the gripper. Make sure the line can run freely over the pulley without snagging.
6. Calibrate the Device Before use, calibrate your scale. You can do this by adding known weights and ensuring the scale displays accurate results. Proper calibration is essential for obtaining reliable and valid tensile strength readings.
Testing Procedure
1. Prepare the Specimen Cut the material you wish to test into uniform shapes or sizes. This consistency will ensure more accurate results.
2. Set Up the Test Place the specimen in the gripper and ensure it is tightly secured.
3. Add Weight Gradually Slowly add weights to the line until the specimen breaks. It’s important to add weights gradually to observe how the material behaves under increasing tension.
4. Record the Results Take note of the maximum weight sustained by the specimen before breaking. This indicates the tensile strength of the material.
5. Analyze the Data After conducting multiple tests on various materials, analyze the data. You can compare the tensile strengths of different materials and even study how factors like temperature and moisture affect their performance.
Conclusion
Creating a custom homemade tensile strength tester is a practical project that not only deepens your understanding of material properties but also equips you with a valuable tool for various applications. Whether you are a student, educator, or enthusiast, this DIY project will enhance your skills in mechanics, engineering, and experimental design. With careful construction and proper usage, your homemade tensile strength tester can serve as an essential asset for testing and experimentation in your workshop. Happy testing!
-
Why the Conductor Resistance Constant Temperature Measurement Machine Redefines Precision
NewsJun.20,2025
-
Reliable Testing Starts Here: Why the High Insulation Resistance Measuring Instrument Is a Must-Have
NewsJun.20,2025
-
Flexible Cable Flexing Test Equipment: The Precision Standard for Cable Durability and Performance Testing
NewsJun.20,2025
-
Digital Measurement Projector: Precision Visualization for Modern Manufacturing
NewsJun.20,2025
-
Computer Control Electronic Tensile Tester: Precision and Power for the Modern Metal Industry
NewsJun.20,2025
-
Cable Spark Tester: Your Ultimate Insulation Assurance for Wire and Cable Testing
NewsJun.20,2025
 Copyright © 2025 Hebei Fangyuan Instrument & Equipment Co.,Ltd. All Rights Reserved. Sitemap | Privacy Policy
