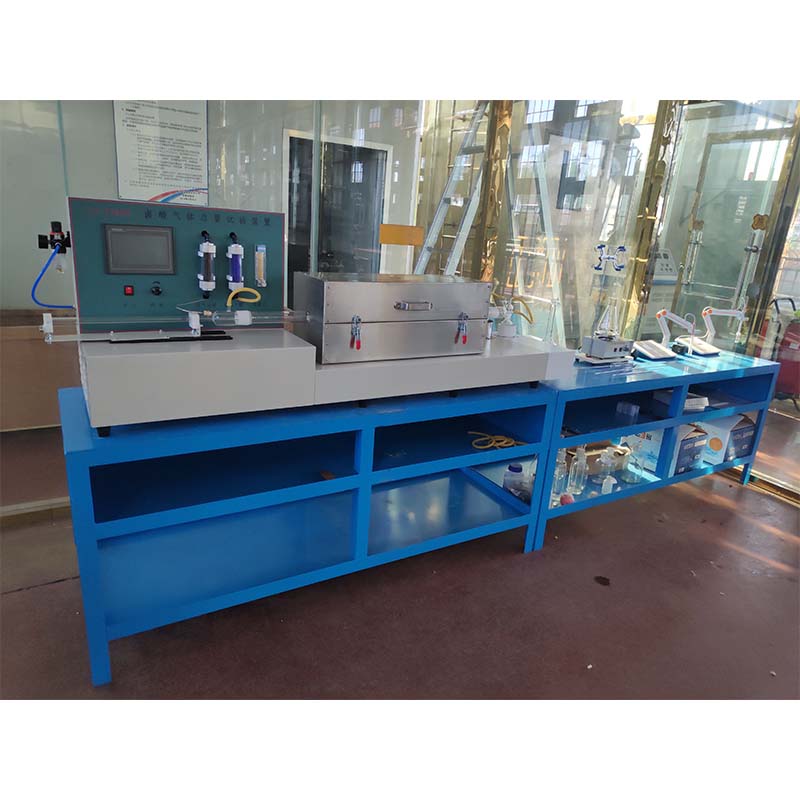
Homemade Tensile Strength Tester
Homemade Tensile Strength Tester A DIY Guide
Tensile strength is a critical property of materials, particularly in fields such as engineering, manufacturing, and materials science. Understanding the tensile strength of a material can help in selecting the right components for projects or ensuring that products meet safety standards. While commercial tensile strength testers can be expensive, creating a homemade tensile strength tester can be an engaging and educational project. In this article, we will guide you through the basic components and steps needed to build your own tester.
Materials Needed
To create a simple tensile strength tester, you will need the following materials
1. Load Cell This is the primary sensor that will measure the force applied to the specimen. Load cells are available for various weight capacities. 2. Microcontroller An Arduino or Raspberry Pi can be used to read the data from the load cell and convert it into a readable format. 3. Data Display You can use an LCD screen or even a simple serial monitor on your computer to display the tensile strength readings. 4. Mechanical Setup A frame made of aluminum or a sturdy plastic to support the load cell and hold the material samples securely.
5. Clamping Mechanism Vise grips or custom clamps to securely hold the test specimen in place.
6. Power Supply Depending on your microcontroller, this could be batteries or an AC power source.
Building Your Tester
1. Assemble the Frame Start by constructing a stable frame using the aluminum extrusions or your chosen material. Ensure that it is sturdy enough to withstand the forces exerted during testing.
homemade tensile strength tester

2. Install the Load Cell Mount the load cell on the frame in a position where it will be able to accurately measure the tension applied to the specimen. You may need to create a small cutout or holder to accommodate the load cell.
3. Set Up the Microcontroller Connect the load cell to the microcontroller according to the wiring specifications provided with the load cell. Use libraries such as HX711 for Arduino to facilitate the reading of data from the load cell.
4. Create the Clamping Mechanism Attach clamps at both ends of the frame where the material specimen will be held. Ensure that these clamps are secure and can hold the specimen without slipping.
5. Power and Test Once everything is set up, connect the power supply and upload the necessary code to the microcontroller. Make sure to calibrate the load cell using known weights to ensure accurate readings.
Testing a Sample
To test a material, simply place your sample between the clamps and initiate the testing process via your control system. As the tension is applied, the load cell will measure the force exerted until the specimen fails. The display will show you the maximum tensile strength achieved before rupture.
Conclusion
Building a homemade tensile strength tester is not only an educational experience but also a practical tool for anyone interested in materials testing. By following these steps, you’ll gain valuable insights into the properties of different materials while enhancing your skills in electronics and engineering. Happy testing!
-
Why the Conductor Resistance Constant Temperature Measurement Machine Redefines Precision
NewsJun.20,2025
-
Reliable Testing Starts Here: Why the High Insulation Resistance Measuring Instrument Is a Must-Have
NewsJun.20,2025
-
Flexible Cable Flexing Test Equipment: The Precision Standard for Cable Durability and Performance Testing
NewsJun.20,2025
-
Digital Measurement Projector: Precision Visualization for Modern Manufacturing
NewsJun.20,2025
-
Computer Control Electronic Tensile Tester: Precision and Power for the Modern Metal Industry
NewsJun.20,2025
-
Cable Spark Tester: Your Ultimate Insulation Assurance for Wire and Cable Testing
NewsJun.20,2025
 Copyright © 2025 Hebei Fangyuan Instrument & Equipment Co.,Ltd. All Rights Reserved. Sitemap | Privacy Policy
