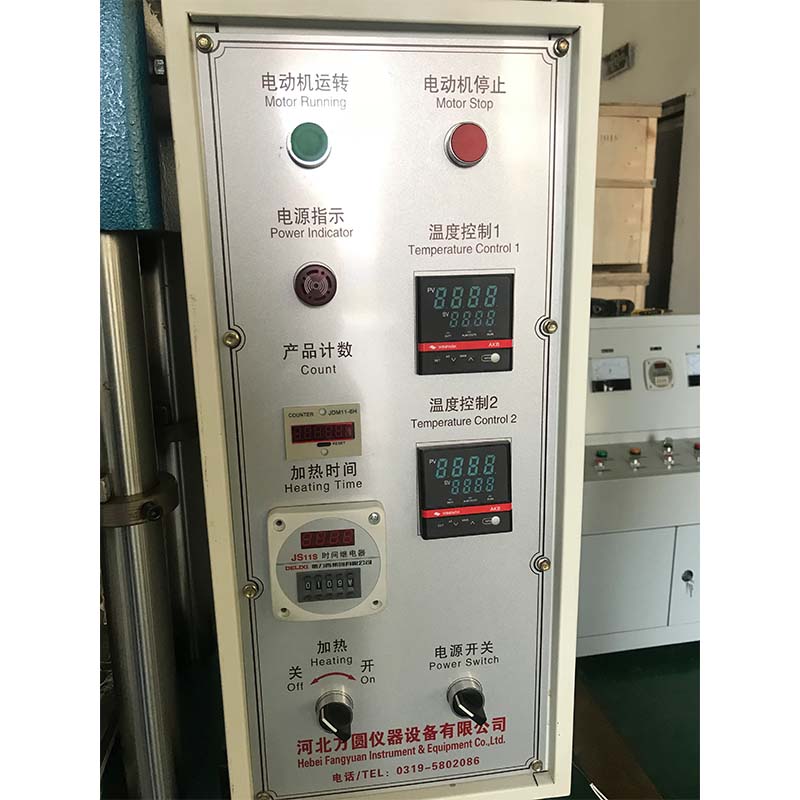
homemade tensile strength tester
Homemade Tensile Strength Tester A Step-by-Step Guide
Tensile strength testing is a vital process in material science, helping engineers and scientists determine how much force a material can withstand before failing. Whether you are a student, a hobbyist, or a professional looking to better understand materials, building a homemade tensile strength tester can be both an educational and practical project. In this article, we will guide you through the process of creating your own tensile strength tester, allowing you to experiment and learn about various materials' mechanical properties.
Understanding Tensile Strength
Before diving into the construction of a tensile strength tester, it’s crucial to understand what tensile strength is. Tensile strength measures the maximum amount of tensile (pulling) stress a material can bear before it breaks. This is particularly important in engineering applications, where materials are often subjected to various stresses in everyday use. By measuring this property, you can assess how suitable a material is for specific applications.
Materials Needed
To construct a basic tensile strength tester, you will need
1. Frame Sturdy materials, such as wood or metal, to create a base and vertical support. 2. Load Cell A device that measures force or weight. Load cells come in different sizes and capacities; choose one appropriate for the materials you plan to test. 3. Microcontroller Such as an Arduino or Raspberry Pi, to read and process the data from the load cell. 4. Display An LCD screen or a computer interface to show the results. 5. Sample Holder A mechanism to securely hold your test specimen while applying the load. You can use vice grips, clamps, or specially designed fixtures. 6. Connecting Cables To connect the load cell to the microcontroller. 7. Power Supply Batteries or a power adapter suitable for your electronic components.
Construction Steps
1. Build the Frame Start by constructing a sturdy base and vertical support for your tester. The frame must be stable enough to withstand the forces applied during testing without bending or breaking. If using wood, ensure all joints are secure, and consider reinforcing them with screws or brackets.
homemade tensile strength tester

2. Install the Load Cell Attach the load cell to the frame in a way that it can accurately measure the force applied. Ensure that the cell is aligned vertically to prevent erroneous readings. Depending on your load cell's design, you may need to connect it to a mounting plate or bracket.
3. Set Up the Sample Holder Create a method to hold the material specimen securely. This could be as simple as two clamps on either side of the load cell. Make sure the specimen is aligned with the load cell for accurate force measurements.
4. Connect Electronics Wire the load cell to your microcontroller following specifications from the load cell and microcontroller manuals. If you're using an Arduino, there are libraries available (like HX711 for load cells) that simplify reading the load cell data.
5. Coding and Calibration Write a basic program to read the output from the load cell and display it on the LCD or a computer interface. Calibration is essential here; apply known weights to ensure that the readings align correctly with actual loads.
6. Testing and Experimentation Once everything is assembled and calibrated, you can begin testing different materials. Cut samples of various materials (e.g., plastics, metals, wood) into uniform shapes and record their tensile strength by gradually increasing the load until failure occurs.
Safety Considerations
While testing materials, safety is paramount. Always wear protective gear, such as safety goggles, as the material may snap or shatter under stress. Ensure that the area around the tester is clear of bystanders and that the setup is stable before proceeding with tests.
Conclusion
Creating a homemade tensile strength tester is a rewarding project that deepens your understanding of materials and their properties. It allows you not only to learn about tensile strength but also to experiment with different materials, gaining practical hands-on experience. With readily available materials and some basic electronics knowledge, you can build an effective tensile strength tester that opens up a world of exploration in material science. Happy testing!
-
Why the Conductor Resistance Constant Temperature Measurement Machine Redefines Precision
NewsJun.20,2025
-
Reliable Testing Starts Here: Why the High Insulation Resistance Measuring Instrument Is a Must-Have
NewsJun.20,2025
-
Flexible Cable Flexing Test Equipment: The Precision Standard for Cable Durability and Performance Testing
NewsJun.20,2025
-
Digital Measurement Projector: Precision Visualization for Modern Manufacturing
NewsJun.20,2025
-
Computer Control Electronic Tensile Tester: Precision and Power for the Modern Metal Industry
NewsJun.20,2025
-
Cable Spark Tester: Your Ultimate Insulation Assurance for Wire and Cable Testing
NewsJun.20,2025
 Copyright © 2025 Hebei Fangyuan Instrument & Equipment Co.,Ltd. All Rights Reserved. Sitemap | Privacy Policy
