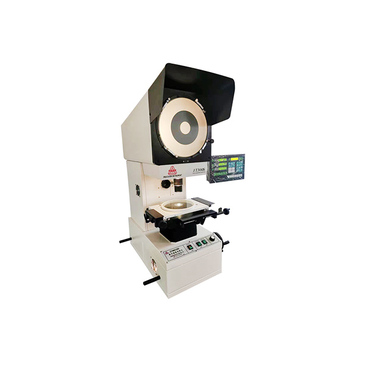
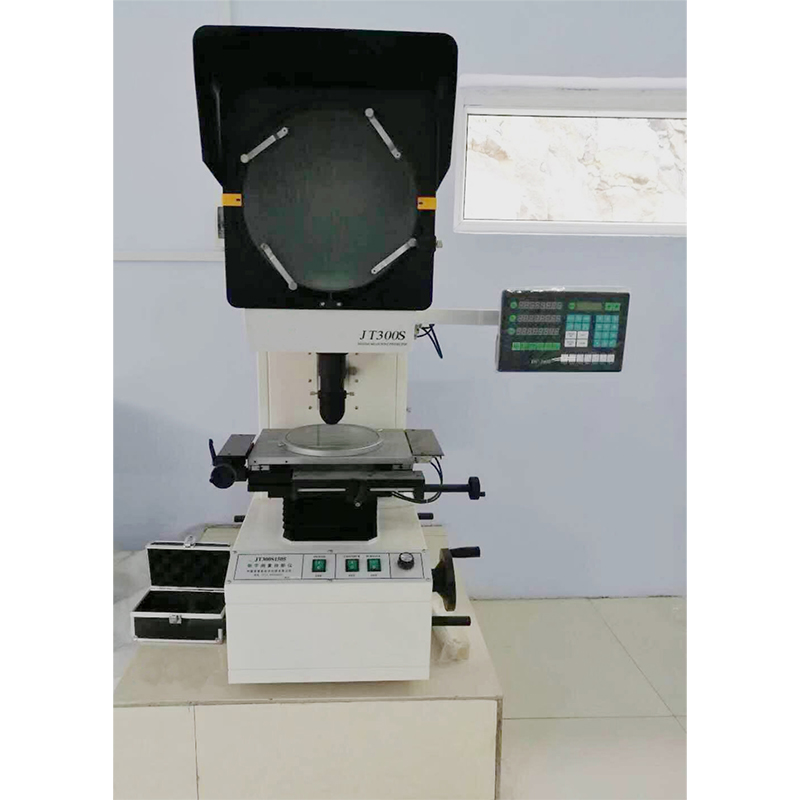
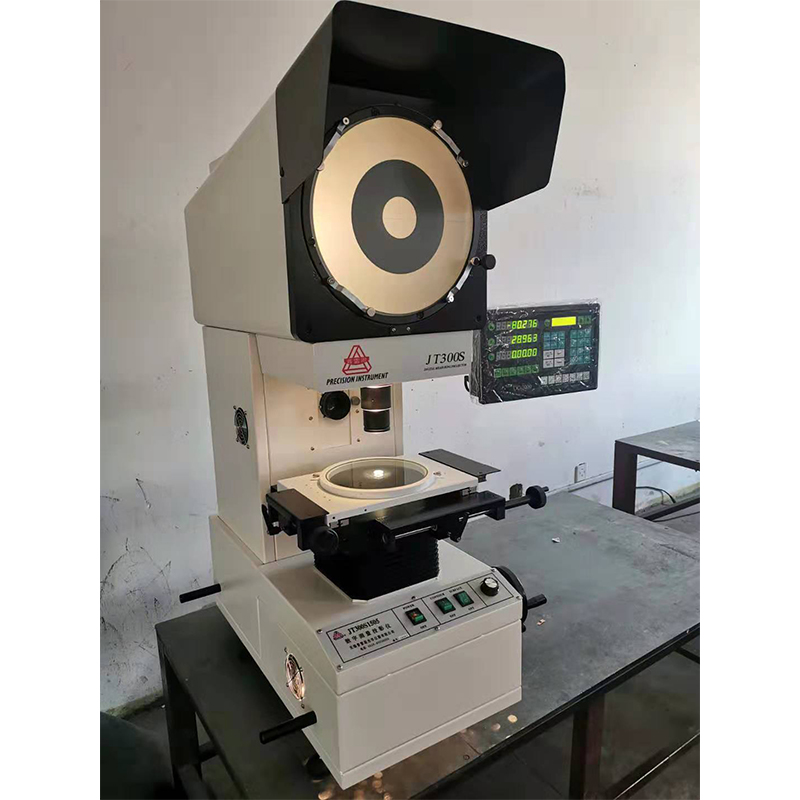
JT300S Digital Optical Measurement Projector for High Precision Inspection
The JT300S Digital Optical Measurement Projector is revolutionizing modern dimensional inspection and quality assurance across precision manufacturing. As global quality standards such as ISO 10360 and ANSI B89 become more rigorous, advanced optical measurement projectors like the JT300S Digital Optical Measurement Projector are increasingly indispensable for industries requiring micron-level accuracy in component verification, including aerospace, automotive, electronics, and heavy machinery.
This article offers thoroughly-researched insights into industry trends, technical advantages, manufacturing process, key specifications, and real-world application scenarios of the JT300S Digital Optical Measurement Projector, helping engineers, QA specialists, and procurement professionals make informed decisions.
Industry Trends & Data: Optical Projectors Shaping Quality Control
- Growth in Precision Measurement: According to Markets&Markets, the global optical measurement market is projected to grow at a CAGR of 7.8%, reaching USD 3.8 billion by 2027, reflecting the increased adoption in metrology laboratories, automotive and electronics sectors.
- Automation & Digitalization: The integration of digital optics, AI, and CNC automation into measurement projectors is reducing human error and boosting inspection speeds by over 45%, as per Statista.
- Accuracy Standards: Modern projectors are increasingly designed to be compliant with ISO 10360-7 (coordinate measuring machines) and ANSI B89.1 (precision measurement equipment), making calibration traceability crucial in supplier selection.

Why Choose JT300S Digital Optical Measurement Projector?
- Up to 0.002mm precision, ideal for small part analysis in electronics and aerospace.
- Digital imaging & optical path produce sharper, distortion-free projections than conventional analog models.
- Intuitive software supporting direct data export (DXF, Excel) and GD&T feature calculation for production QC workflows.
- Ruggedized design using aerospace-grade alloys enables extended service life and consistent accuracy, even in industrial environments.
Technical Specifications Table: JT300S Digital Optical Measurement Projector
| Parameter | JT300S Digital Optical Measurement Projector | Typical Analog Projector | Market Benchmark |
|---|---|---|---|
| Screen Diameter | Ø 300mm | Ø 250mm | Ø 300mm |
| Measuring Range (X/Y/Z) | 200 × 150 × 100 mm | 150 × 100 × 80 mm | 180 × 130 × 100 mm |
| Accuracy | ≤ 2μm | 6μm | 3-4μm |
| Resolution | 0.001mm | 0.01mm | 0.005mm |
| Illumination | LED, Adjustable | Halogen, Fixed | LED, Fixed |
| Material | Aerospace Aluminum, Tempered Glass | Cast Iron, Basic Glass | Aluminum Alloy |
| Digital Readout | Integrated Touch Screen | No (Analog Only) | Optional |
| Data Output | USB, LAN, Wireless | None | USB |
| Complies With | ISO 10360, ANSI B89.1 | None (Basic) | ISO 10360 |
Manufacturing Process Flow of JT300S Digital Optical Measurement Projector
-
Material Selection & Preparation:
Uses aerospace-grade 6061/7075-T6 aluminum alloys for the main frame, providing a blend of low weight, high rigidity, and resistance to thermal expansion—critical for sub-micron measurement repeatability. Key optical elements are manufactured from tempered industrial-grade glass (>98.6% light transmittance). -
Casting & CNC Machining:
The raw blocks are precision-cast and then CNC-machined to ±0.01mm tolerances for all guideways and assembly interfaces.- Critical areas processed via 5-axis CNC for geometric accuracy.
- Surface anodization for corrosion resistance and abrasion resistance (Salt Spray Tested to ISO 9227).
-
Optical Component Assembly:
Lenses, mirrors, and projection screen assembled in a HEPA cleanroom. Optical axis alignment verified via laser autocollimator (up to 0.1 arcmin tolerance). -
Electronics & Software Integration:
Main control board, precision encoders, touch panel, and illumination modules are installed and calibrated with test fixtures. Software integration follows CMM safety standards (ISO 14978, IEC 61010). -
Performance Calibration & Quality Inspection:
Each unit is calibrated using traceable gauge blocks (certified to ISO/IEC 17025) and checked for repeatability, accuracy, and digital output integrity. -
Packing & Delivery:
Shock-absorbing packaging is used. Full calibration report included.

For an in-depth look at the process, watch a similar digital projector build process on YouTube. (For illustration reference)
Visualizing JT300S Digital Optical Measurement Projector Data
Application Scenarios & Industry Solutions
Key Industries and Use Cases
-
Semiconductor & PCB Inspection: Ensures IC packages, solder joints, and fine PCB tracks comply with IPC-6012.
Advantage: Non-contact, micron precision, batch traceability. -
Automotive and Aerospace: Used for dimensional control of shafts, gears, bearings, turbine vanes (conform with ISO 1101, AS 9100).
Advantage: Programmable profiling; rapid pass/fail for large lots. -
Medical Devices: Catheter valves, micro-screws, stent samples—measured and documented for FDA and ISO 13485 audits.
Advantage: Automated report generation, minimizes human misread risk. -
Metal Manufacturing: For Stainless tubes, flanges used in petrochemical, metallurgical, water supply lines.
Advantage: Corrosion resistance, repeatable measurements even on reflective or intricate surfaces.

Case Study: Precision Aerospace Gear Production
Challenge: A leading aerospace component OEM needed 100% inspection of beveled gears to +/-3μm for turbine assemblies—manual methods proved error-prone and slow.
Solution: Upgrading to the JT300S Digital Optical Measurement Projector gave programmable, operator-independent inspection, with digital reports auto-uploaded to SAP, boasting a 60% reduction in cycle time. Annual PPM defects dropped from 1800 to 110.
Certification: The solution meets AS9102 FAI requirements and is fully traceable under ISO/IEC 17025 calibration.
JT300S Digital Optical Measurement Projector vs. Major Competitors
- Mitutoyo PJ-A3000: Very stable but lacks digital networking and is 3μm accuracy only; no touch panel or wireless data export.
- Nikon V-20B: Excellent optics, but more expensive and non-intelligent readout, fixed illumination.
- JT300S: Balances digital functionality, precision, cost, and support, especially in mid-to-high volume production settings.
| Model | Accuracy (μm) | Screen (mm) | Digital Output | Wireless | Price ($) |
|---|---|---|---|---|---|
| JT300S | 2 | 300 | Yes | Yes | 8,800 |
| Mitutoyo PJ-A3000 | 3 | 300 | No | No | 12,900 |
| Nikon V-20B | 2.5 | 200 | No | No | 14,800 |
Custom Solutions & Service Commitment
- Turnkey Customization: Bespoke fixturing, oversized screens, custom illumination, multi-language UI (EN, DE, JP, CN, RU).
- Traceability On Demand: All units supplied with ISO/IEC 17025 calibration certificates.
- Industry Certifications: Products certified ISO 9001:2015; electronics compliant with CE and RoHS.
- Collaborating Brands: Suppliers to Foxconn, GE, Continental, GCL Group, Gree, over 2,200 clients in 35 countries.
Delivery & Support
- Lead Time: Standard models ship in 14-21 days. Custom options may require 4-6 weeks.
- Warranty: 2 years (core system), lifetime technical support, on-site service in over 25 countries.
- After-Sales: 24h response, multi-channel (live chat, WhatsApp, email), local language support, free video training.
Professional FAQ on JT300S Digital Optical Measurement Projector
Customer Feedback & Authority Recognition
- Foxconn (2023 Feedback): “The JT300S Digital Optical Measurement Projector improved our throughput for fine connector pin inspection by 56%. Automated reporting saved 18 man-hours per week in our quality team.”
- Continental AG: “Flawless integration into our digital QC line. Meets our ISO 9001 audit requirements and handled multi-shift operations reliably.”
- QA Forums: Peer-reviewed on QualityForum.com and referenced by ScienceDirect (J. Manufacturing Processes) as a class-leading solution for medium-volume digital optical metrology.
Further Reading & References
- Evolution of the Optical Measurement Projector | QualityMag
- Review of Opto-digital Measurement Techniques | ResearchGate
- Quality Forum (Metrology Community)
- Official JT300S Digital Optical Measurement Projector Product Page
This article is based on data derived from Markets&Markets, QualityMag, and discussions from QualityForum.com. Technical standards referenced include ISO 10360, ANSI B89.1, and ISO/IEC 17025.
-
Why the Conductor Resistance Constant Temperature Measurement Machine Redefines Precision
NewsJun.20,2025
-
Reliable Testing Starts Here: Why the High Insulation Resistance Measuring Instrument Is a Must-Have
NewsJun.20,2025
-
Flexible Cable Flexing Test Equipment: The Precision Standard for Cable Durability and Performance Testing
NewsJun.20,2025
-
Digital Measurement Projector: Precision Visualization for Modern Manufacturing
NewsJun.20,2025
-
Computer Control Electronic Tensile Tester: Precision and Power for the Modern Metal Industry
NewsJun.20,2025
-
Cable Spark Tester: Your Ultimate Insulation Assurance for Wire and Cable Testing
NewsJun.20,2025
 Copyright © 2025 Hebei Fangyuan Instrument & Equipment Co.,Ltd. All Rights Reserved. Sitemap | Privacy Policy
